- April 19, 2024
Vet Approved Instructions – Dogster
The information is current and up-to-date in accordance with the latest veterinarian research.
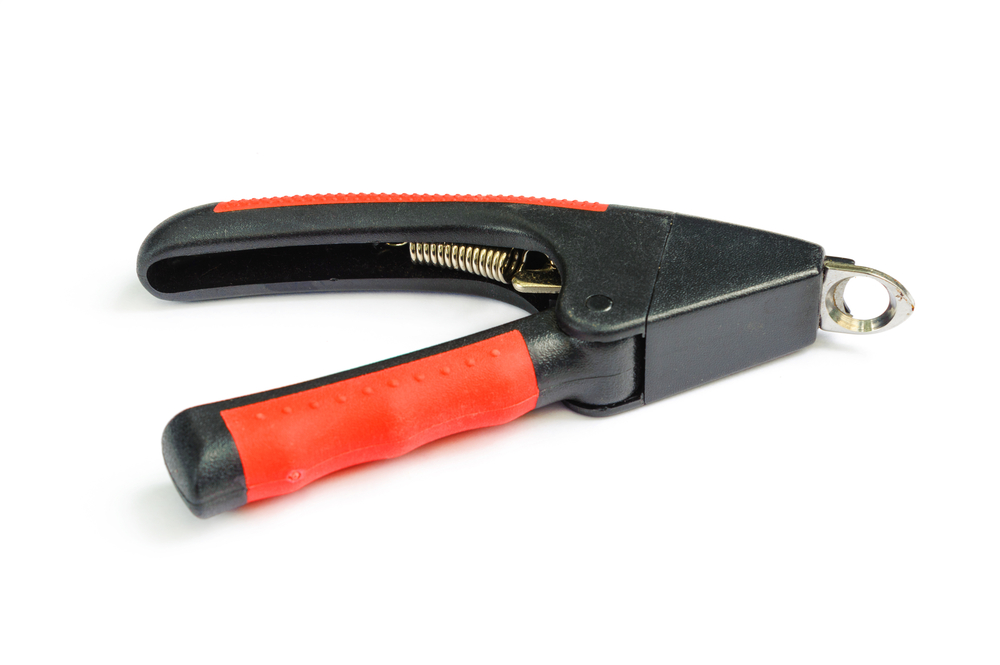
You’re probably most familiar with standard scissor-style dog nail clippers but may have heard about guillotine-style dog nail clippers before. If you’re unfamiliar with them or just bought a pair but don’t know where to start with using them, you’re not alone. The name is a little intimidating, but that’s just a reference to the clippers’ single blade.
It’s a confusing topic if you’re not already in the know, but let’s demystify it here and now for everyone. Scroll down for more info on how they work and a step-by-step guide on exactly how to use guillotine dog nail clippers.

Before You Begin
Your first question is probably why you should use guillotine dog nail clippers over the regular ones you already have, and that’s fair. The clippers have one blade that quickly snips the nail in one smooth motion. Having one blade makes the clippers easier and more comfortable to use.
Before you begin, you will need to make sure that you purchase the correctly sized product for your dog. Small sized clippers are not designed for large, tough nails. Dogs with naturally dark nails will be more difficult to trim as you can’t see the sensitive area with nerves and blood vessels, known as the “quick”. If your dog has any nail problems such as a nail bed infection or brittle nails, it’s better to talk to your vet about nail trimming.
Next up, we break down the short list of supplies you need to get the job done, so stock up and move on to the next steps when you’re ready.
You Will Need:
- Guillotine-style dog nail clippers
- Dog treats: To reward the best boy or girl after the nail-cutting procedure is complete.
- Dog-safe nail file/grinder: To smooth the jagged edges from the clippers.
- Styptic powder: Essential to stop the bleeding from accidental cuts to the quicks of your dog’s nails, but technically optional if you have a very steady hand and experience.

The 4 Tips on How to Use Guillotine Dog Nail Clippers
1. Familiarize Your Dog With the Clippers
Dogs are understandably wary about new scary-looking contraptions like your guillotine nail clippers, and it’s unlikely you can just start clipping right away. Instead, you want to get your dog acclimated to the sight of the clippers being around and reassure them that they’re nothing to be afraid of. Let’s go over the blow-by-blow of how to get your dog used to the clippers.
First, hold the clippers in one hand and handle your dog’s paws without actually using the clippers. Just hold it in sight and get a close look at their nails. After you’re done, give them a treat and move on with your day. Repeat this for a couple of days and your dog will be more at ease when you actually use the clippers.
2. Locate the Quick & Do a Test Run
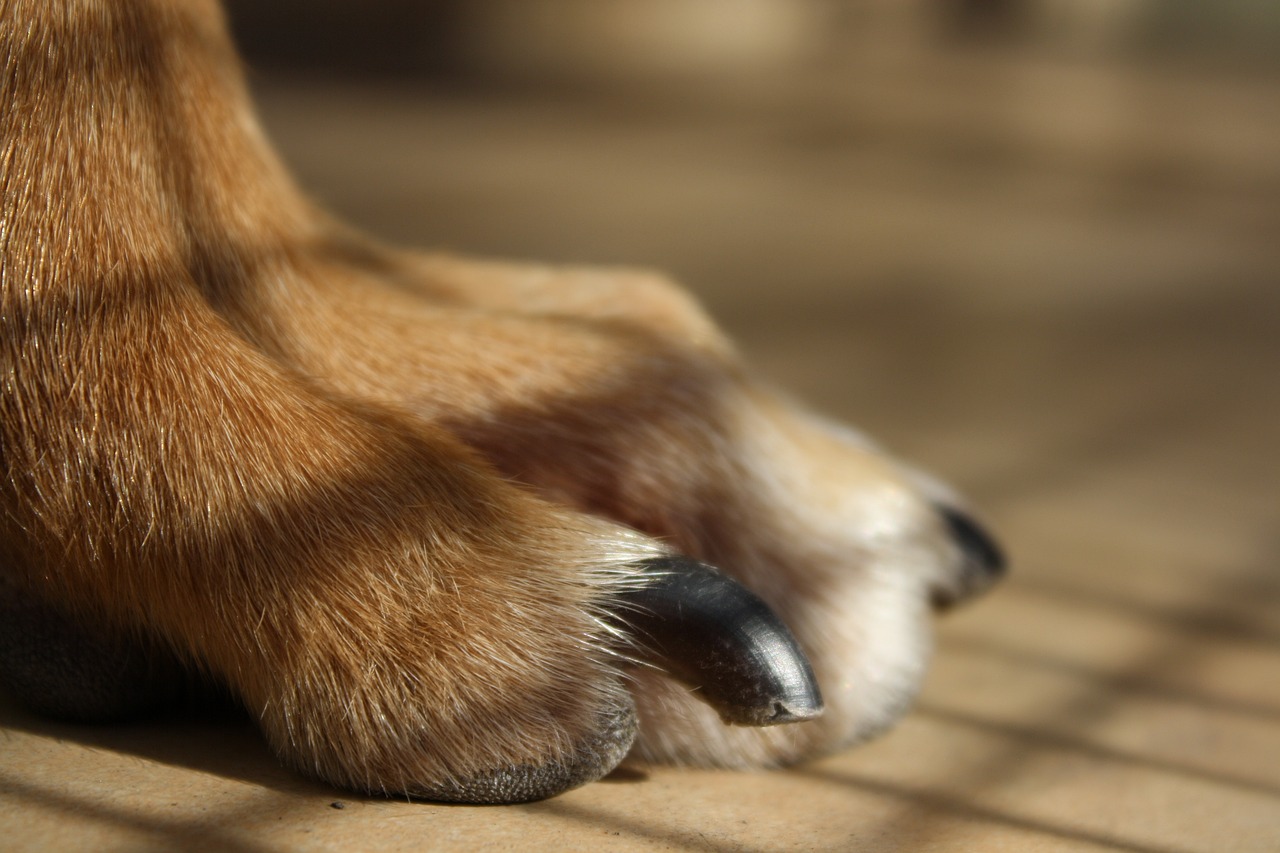
The most critical thing to pay attention to when cutting your dog’s nails is where their quick is. The quick is sensitive and vascular tissue right in the nail bed, and snipping that is both painful for your pup and will cause bleeding. Light-colored nails are easier to spot the quick in—it’s the light pink bit that extends from the base of each nail. It’s harder to see on dark-colored nails, so you may have to cautiously guess where the quick is or trim off very small bits at a time.
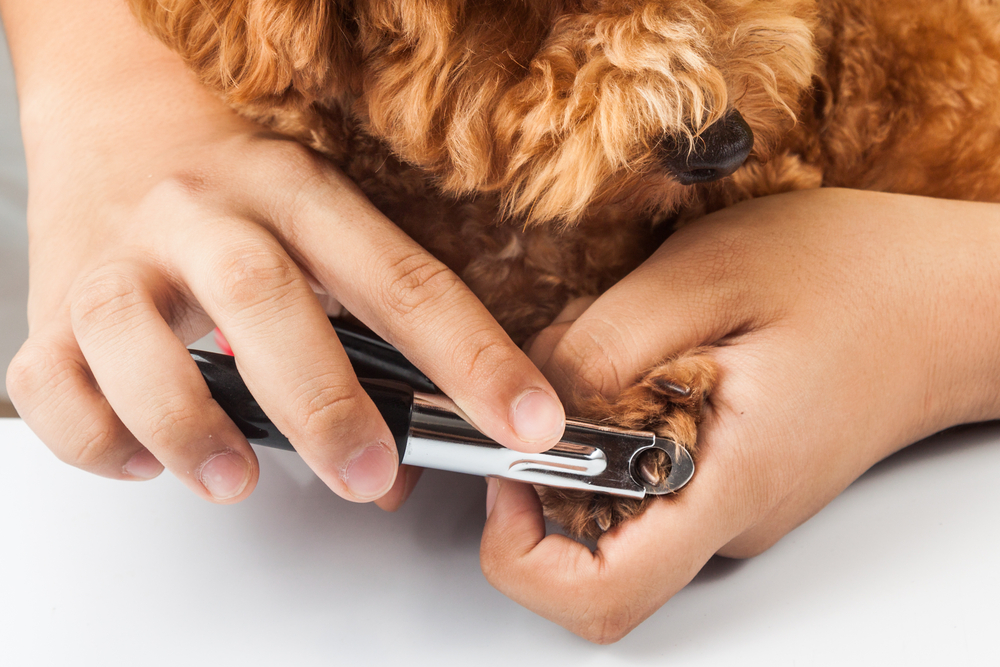
Once you’ve found it, leave a bit of room for your cut so you don’t get too close; about 2mm from the quick is fine. Hold your dog’s paw with one hand and put the tip of their nail in the stationary ring of the guillotine nail clippers. Hold the cutting blade facing towards you. Trim the nail by squeezing the clippers, and then assess your dog’s reaction. If they’re calm and don’t try to run away, it’s fine to continue. If you are unsure about the quick, trim the nail very slowly at first and if your dog shows any discomfort, stop, and trim a little less next time.
If your dog’s nails bleed at any point apply the styptic powder. A small amount of bleeding should subside quickly. If there is lots of bleeding, apply pressure but seek veterinary care if it goes on for more than 5 minutes.
3. Continue & Finish Trimming
Guillotine dog nail clippers are easy to use, but it’s also easy to cut too much and cause bleeding. To avoid cutting off too much, don’t keep trimming the nails shorter and shorter. Make a decision about where you think it is safe to cut and then move on. You can always try again next week if the nails are still too long.
If your dog panics at any point, you can let them go and try the process again later when they’re more accepting of it. However, with proper preparation, your dog should hopefully be well-behaved and tolerant of the nail cutting.
4. Reward Them
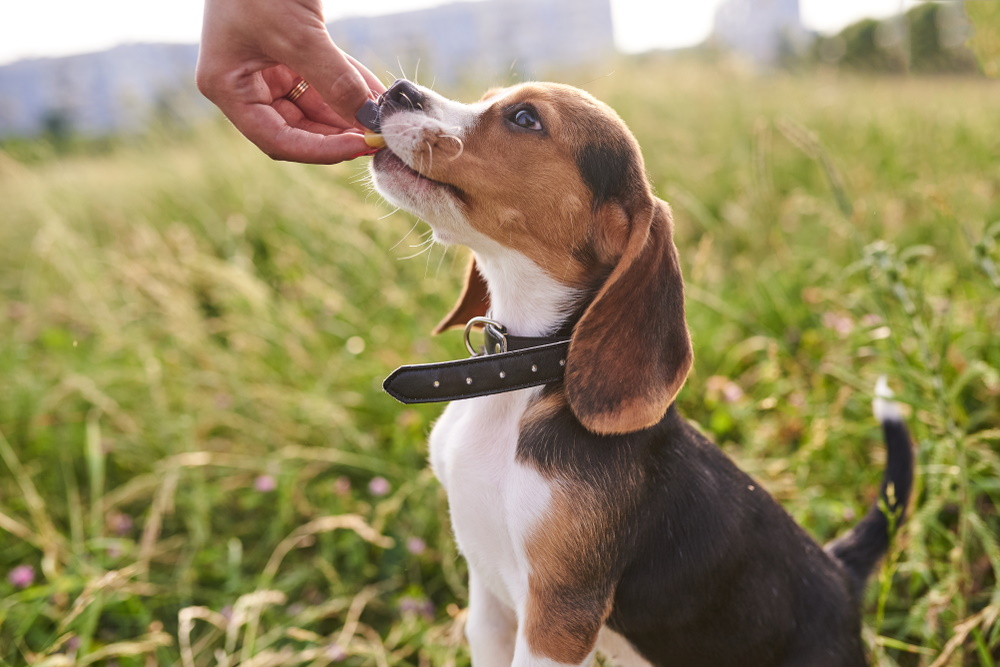
Now that you’ve worked your way through all four paws and all the nails are trimmed, it’s time to reward your dog for being such a good boy/girl. This will help them associate the clippers with good experiences and won’t make them scared to return for their next nail trim.

Conclusion
Guillotine dog nail clippers are a great nail-cutting solution for all dogs. We suggest getting your dog used to the clippers first before using them, but it’s very simple and fast once you get the hang of it.
Featured Image Credit: ThamKC, Shutterstock
Tags
What do you think?
Related Articles
New Puppy Checklist: Gear You’ll Need for Your New Dog
Getting a new puppy is really exciting, but before you welcome them home, it’s important to prepare your space for them. Since puppies need a
How Big Do Mini Poodles Get? Vet Reviewed Average Weight & Growth Chart – Dogster
The information is current and up-to-date in accordance with the latest veterinarian research. Learn more » When you buy a Miniature Poodle, you might not
Can Police Dogs Smell Nicotine? Vet Verified Facts & Info – Dogster
The information is current and up-to-date in accordance with the latest veterinarian research. Learn more » While cigarette sales have been declining steadily for decades,
How Old Is 5 in Dog Years? Vet-Approved Guide to Each Size of Dog – Dogster
The information is current and up-to-date in accordance with the latest veterinarian research. Learn more » A common method for calculating a dog’s age is

