

Cats are curious and playful creatures, which can lead to them getting injured. When a cat injures their paw or a limb, it is important to seek urgent veterinary care. Your veterinarian will take proper care of the wound and may recommend temporarily wrapping it up in a bandage.
Depending on the extent of the injury, your vet may suggest hospitalizing your cat for a few days or discharge them for home care with clear instructions on managing the wound and the bandage, and regular checks to ensure there are no complications associated with bandaging or healing.
It can be tricky to bandage your cat’s paw or leg because they can easily pull the bandage off, not cooperate, or chew on the wound. However, knowing how to manage a bandage on your cat’s paw or limb is a good skill to have in your arsenal of tricks for being a competent and loving pet owner.
Here are some words of caution, followed by four useful tips for bandaging a cat’s paw.

A Few Words of Caution
Your vet will very rarely ask you to place a bandage on your cat’s leg. There are a few reasons for this. Your cat may very easily chew on or remove the bandage, and young cats and kittens may be too curious and even ingest pieces of the bandage material. This can lead to digestive issues and even a gastrointestinal blockage in some cases, so cats with a bandage usually also have an Elizabethan collar (e-collar) or are supervised as best as possible to avoid these mishaps.
Another reason why bandages should only be placed by veterinary professionals is the risk of things going wrong. For example, bandages can get wet, making them tight on your cat’s skin and underlying tissues. If they are not removed immediately, they will cause significant pain and discomfort to your cat, who will try their best to remove them by chewing, and they may cause the skin and tissue underneath to experience necrosis from a compromised blood supply. This may also lead to an infection, characterized by a very unpleasant odor coming from the bandaged area, with the presence of discharge, and even leading to skin peeling off.
But it can get even worse than this. Sometimes, if the bandage is too tight for days, it can also lead to necrosis of the soft tissue and even fingers and toes. This means that they either have inadequate blood supply or lose it entirely, leading to the tissue dying off. This can also be very uncomfortable for your kitty and predispose them for sepsis, resistant bacterial infections due to prolonged antimicrobial treatment, and repeated surgeries if any affected tissue needs to be removed. When vets place a bandage on your cat’s paw or leg, they will want to get your cat back in for checks and rebandaging quite frequently, usually every 48 hours.
There are only a few rare occasions when vets may place bandages on your cat’s paws or legs. This is usually after orthopedic surgery or to stabilize a fracture. Wounds are rarely bandaged, as they are likely to get worse under a bandage, and generally are left uncovered while the cat is treated systemically with antimicrobials and painkillers. The cat will also generally wear an Elizabethan collar.
Finally, the rare instance you may be asked to place a bandage on your cat’s paw is in the case of a sudden trauma or bleeding. This will be instructed by your vet, as a very temporary measure to prevent ongoing blood loss while getting to the vet clinic. For this occasion, and to understand bandages in cats, in case your vet has placed one after surgery, let’s dive into more detail.

Before You Start: Items Needed for First Aid
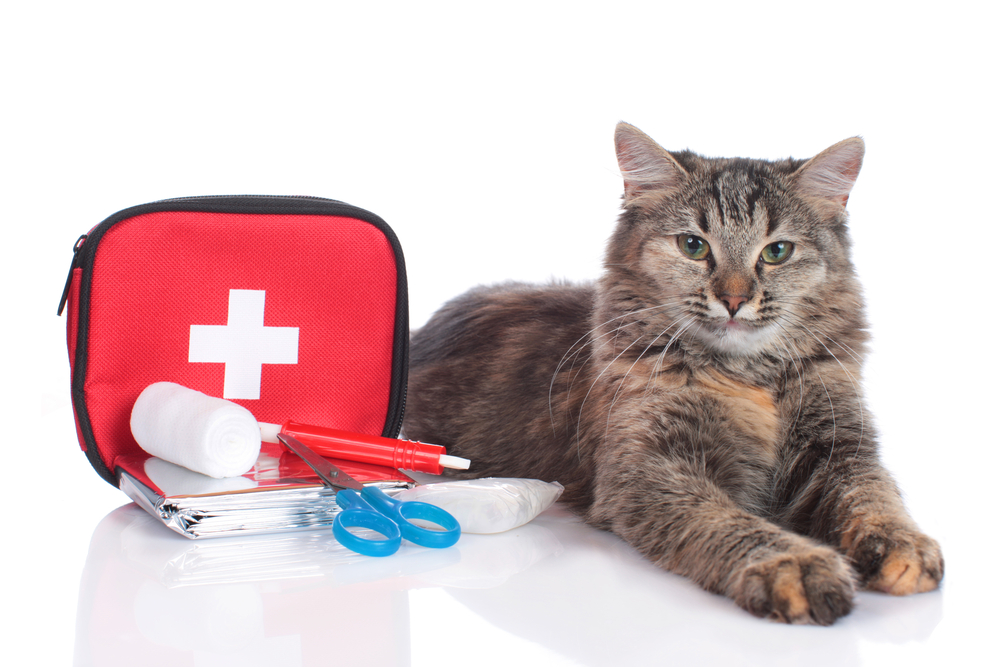
As already discussed, if your cat has a bleeding wound, call your vet to let them know you’re coming, and place a temporary bandage on your cat’s wound, so you can get to the vet clinic with some more peace of mind. Ideally, you will need to keep a few essential items on hand in the home for cat first aid, or you can use some of the materials from your first aid kit:
- Sterile bandage
- Gauze
- Medical tape
- Scissors
- Antiseptic veterinary wound cleaning solution or saline
- Adhesive bandage
- A pair of gloves
Wear gloves when managing a cat’s wound to keep it as clean as possible and minimize the risk to your own health, particularly if you have any cuts or abrasions on your hands. Make sure the antiseptic solution is a pet-grade vet-approved medicine in case your pet licks it or can ingest some of it. Otherwise use saline to rinse the wound before bandaging if possible, if you feel it’s contaminated with dirt or hair. If the wound is fairly clean, or just bleeding, do not waste time on rinsing. Bandage it as best as possible, and head to the vet.
If your cat has a fractured leg, do not attempt to place a bandage, as your cat will be very painful and may try to bite you. Instead, get them to the vet immediately.
Keep all of these bandaging materials in a clean, dry, and waterproof container to ensure you have them ready and easy to access in an emergency.

The 4 Tips to Bandage a Cat Paw
1. Cleaning the Wound
This is something your vet will do, oftentimes with your cat under an anesthetic, so they can be comfortable and pain-free, allowing the vet to do a thorough clean and rinse. Many wounds will also require suturing. In some instances, your vet may recommend for you to clean or rinse some wounds at home, if your cat allows it, but these wounds are likely to stay opened, rather than bandaged.
In that case your vet will provide you with clear instructions on how to manage a wound, and when to expect your cat back for a recheck. Wound cleaning is usually done by gently rinsing or washing the area with a cloth soaked in a vet-approved diluted antiseptic solution provided by your vet or saline solution. Make sure to use a soft cloth or cotton ball and avoid scrubbing the wound.
After cleaning the wound, in most cases you will not need to apply any topical treatment, as cats are notorious for trying to lick everything off. It will be very important that your cat is resting, usually in a crate depending on the type of their injury, or be restricted to a single room, with minimal exercise. They are likely to wear an Elizabethan collar if the wound is in an area they can reach for licking.
Observe the wound at least twice daily, for any signs of inflammation, redness, discharge, swelling, malodor, or signs of opening up, in which case you will need to seek veterinary attention before your scheduled vet appointment.
2. Bandaging the Wound
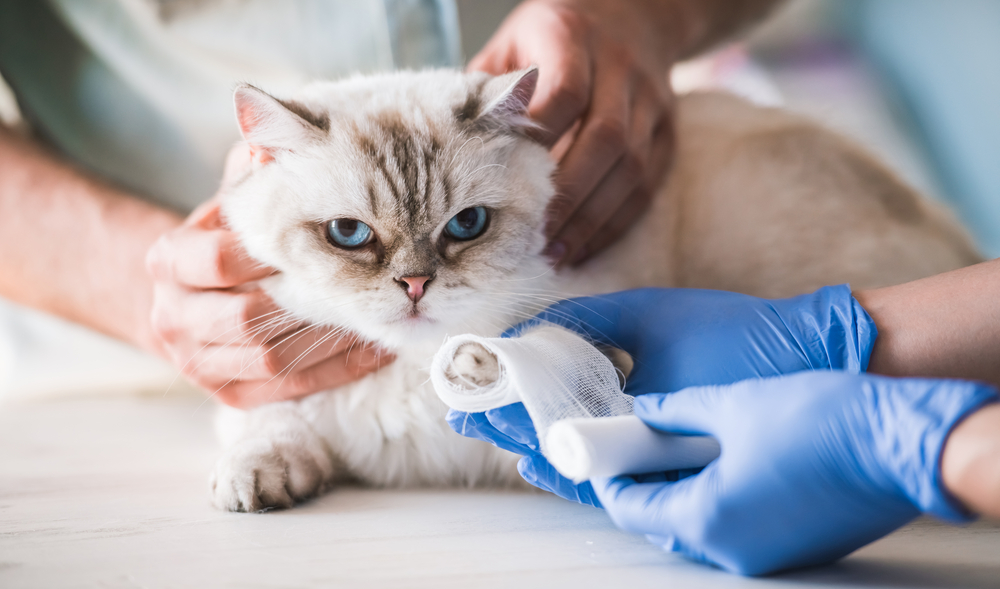
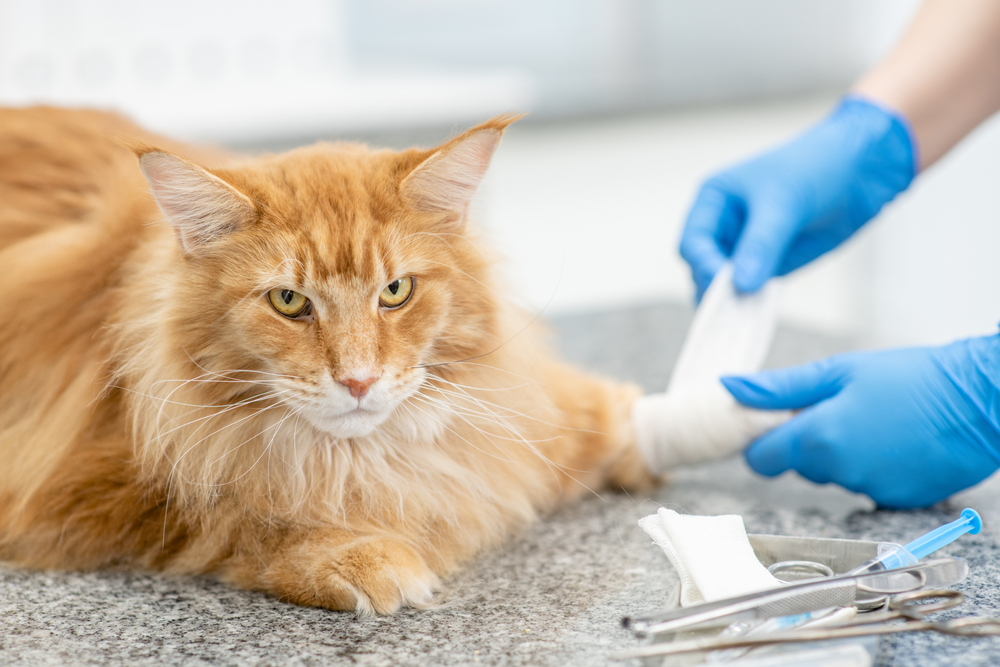
If your cat has a bleeding wound, this is really the only time for you to place a bandage. Otherwise this needs to be done by a veterinary professional, as the complications associated with inadequate bandaging may be very severe. Depending on the type of wound, you can use some sterile gauze to soak up any of the blood before placing a bandage e. You can secure this with a bit of medical tape.
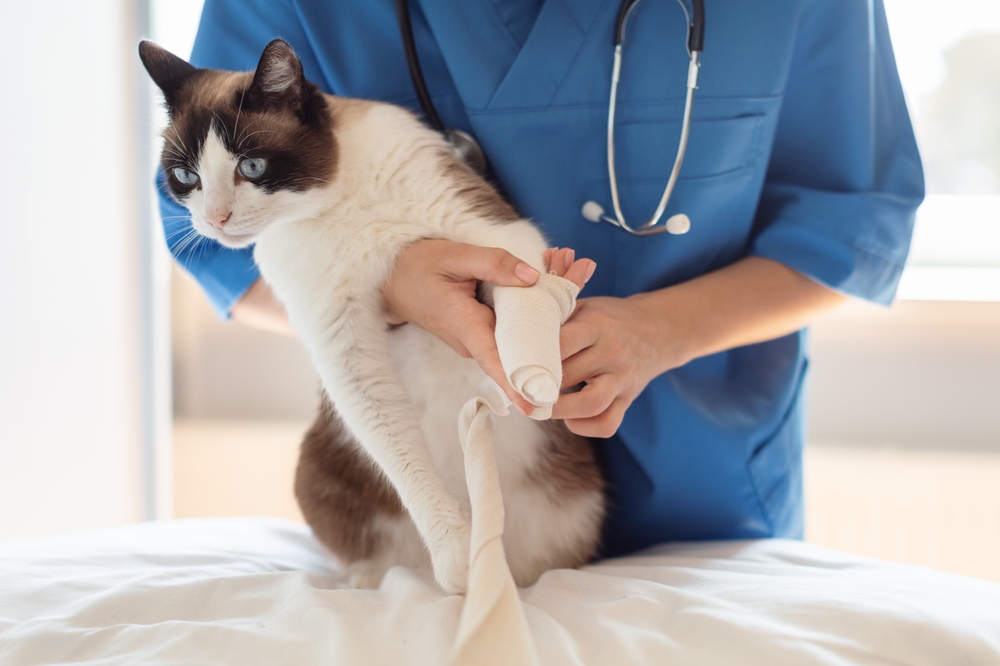
Then you will take the sterile bandage and gently but with moderate grip wrap the wound. Take the bandage from the bottom of the paw, including the whole paw and not leaving any fingers or toes our, and wrap it around in a series of loops and keep moving up and around the paw until you end up above the wound . Then wrap back to the bottom and secure with tape. This creates a kind of solid cocoon around the paw that would be difficult to rub or easily unravel because it has a bit of friction holding the bandage in place. Make sure it’s not too tight so you can place at least one finger comfortably underneath the top of the bandage.
If the bandage is too tight, this can cut off circulation and cause more harm than good. Use good-quality medical tape to keep the bandage strong. If the bleeding is coming through the bandage, add another layer and make it a little bit firmer, but get to your vet as soon as possible. They will be able to stop the bleeding.
💛 😺 Speak To a Vet Online From the Comfort of Your Couch!

If you need to speak with a vet but can’t get to one, head over to PangoVet. It’s an online service where you can talk to a vet online and get the personalized advice you need for your pet — all at an affordable price!
3. Keep the Bandage Dry and Clean
Now we get into the home care instructions, for the rare instances your vet may recommend sending your cat home with a bandage, usually after an orthopedic procedure. It is important to keep the bandage dry and clean. To do this, you can make sure your cat’s food and water bowls are slightly raised, so they cannot knock them over as easily, and it goes without saying, a cat with a bandage and/or with an Elizabethan collar is not allowed in any way to go outside. The risk of them getting into life threatening trouble is high. If at any point, the bandage gets wet, it’s important to take your cat to the vet straight away, for the bandage to be replaced.
It is also important to check the bandage regularly to make sure it is not too tight or loose, that there isn’t any discharge coming though it, or a bad smell associated with it.
4. Keep Up With Regular Bandage Change Appointments
Finally, it is important to remember to never miss your cat’s bandage change appointment. These are usually every 48 hours or could be a little bit longer. During the bandage change, your vet will check the wound to make sure it is healing properly and that there are no signs of complications. This is often done under sedation.
The vet may take samples for culture and sensitivity in order to choose the appropriate antimicrobial treatment, they may repeat your cat’s x-rays if they are monitoring bone healing after a fracture repair. Afterwards, they will give you clear information on how the wound is healing, and on any new home care instructions and further checkups.
Conclusion
Bandaging a cat’s paw during a bleeding injury can be a daunting and stressful task, but with the right knowledge and preparation, it can be done with ease. Remember, it doesn’t have to be perfect, it just needs to reduce the bleeding, while you get your cat to the vet. By following these four tips for managing a bandage in cats, you can ensure that your cat’s injury is monitored, allowing you to pick up any early signs of complications. However, if you feel unsure about anything regarding your cat’s injury or the bandage, do not hesitate to reach out to your vet.
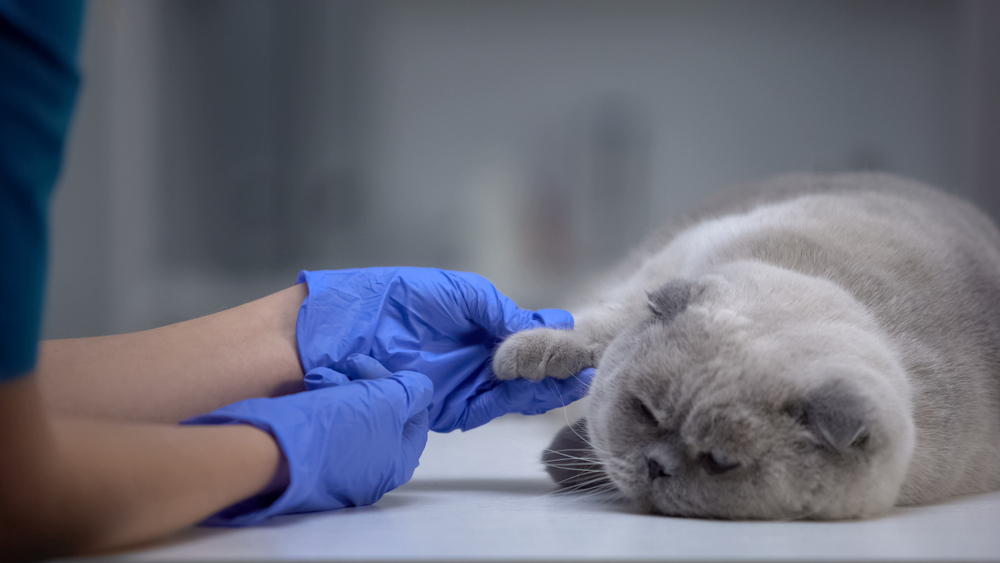
Featured Image Credit: Prostock-studio, Shutterstock

New Puppy Checklist: Gear You’ll Need for Your New Dog
Getting a new puppy is really exciting, but before you welcome them home, it’s important to prepare your space for them. Since puppies need a

How Big Do Mini Poodles Get? Vet Reviewed Average Weight & Growth Chart – Dogster
The information is current and up-to-date in accordance with the latest veterinarian research. Learn more » When you buy a Miniature Poodle, you might not
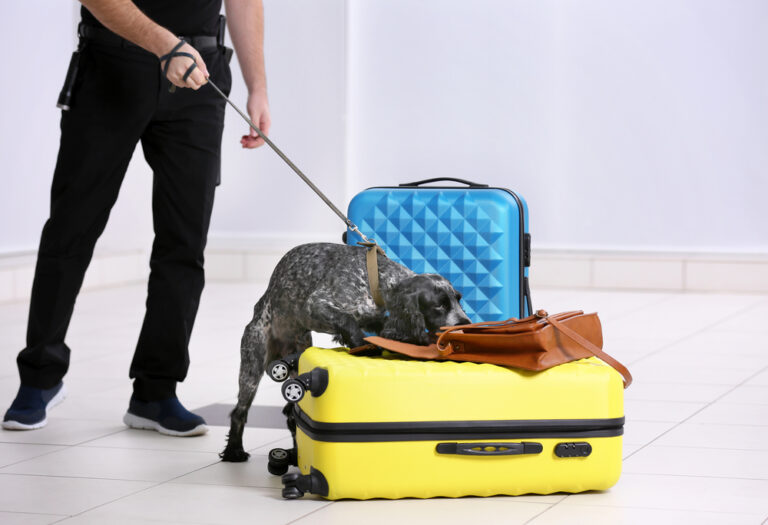
Can Police Dogs Smell Nicotine? Vet Verified Facts & Info – Dogster
The information is current and up-to-date in accordance with the latest veterinarian research. Learn more » While cigarette sales have been declining steadily for decades,

How Old Is 5 in Dog Years? Vet-Approved Guide to Each Size of Dog – Dogster
The information is current and up-to-date in accordance with the latest veterinarian research. Learn more » A common method for calculating a dog’s age is